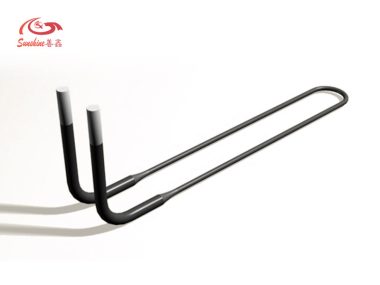
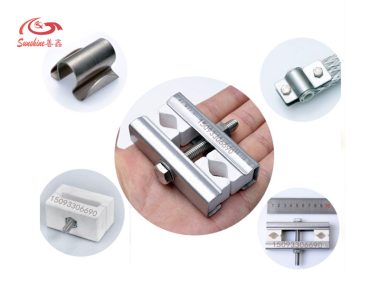
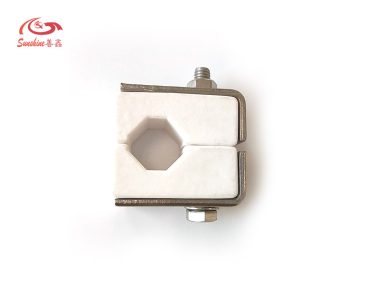
When a heating element in your furnace fails or is damaged, you need to replace it with a new one to ensure proper operation of your equipment.
We will show you how to replace the heating element, starting with both Silicon Carbide Heating Elements and MoSi2 Heating Elements.
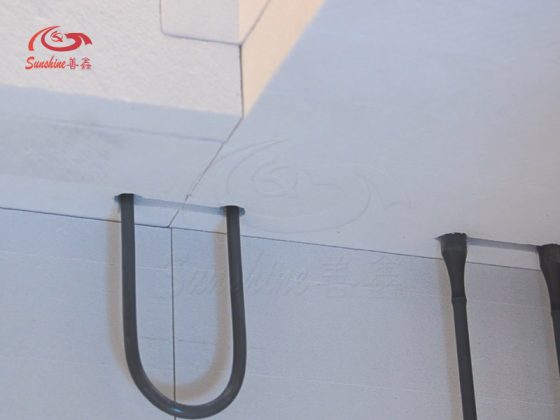
1. Preparation
Step 1: Confirm the heating element type
First, you need to confirm the type of heating element your equipment is using. If you are unsure of the heating element model, you can refer to your equipment’s manual or ask the manufacturer.
Step 2, turn off the power of the equipment
Before replacing the heating element, be sure to turn off the power to the equipment to ensure safety.
Step 3, prepare the necessary tools and materials
You need some basic tools and materials to replace the heating element, including wrench, broom, vacuum cleaner, cleaning cloth, insulating tape, insulating porcelain tube, high temperature resistant wire, etc.
Step 4, Remove the old heating element
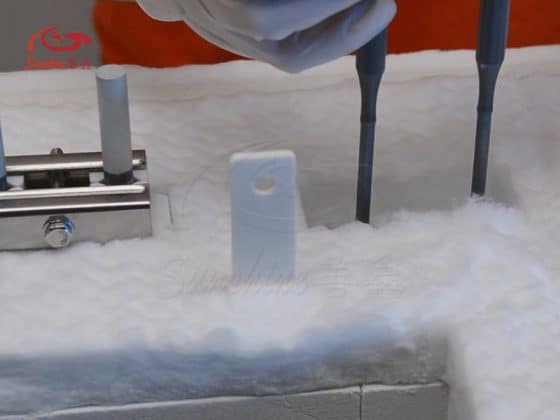
The heating element is typically secured to the furnace or heating system with screws, brackets, or clamps. Remove these fasteners to free the old heating element from its mounting location.
Step 5, Measure the dimensions
Measure the dimensions of the old heating element to ensure that the replacement element is the correct size and shape. This will ensure that the new heating element fits correctly into the mounting location.
Step 6, Clean the area
Remove any debris or residue left behind by the old heating element. This will ensure that the new heating element is properly secured and free from any obstructions.
2. Replace the heating element
The first step, disassemble the old heating element
First, disassemble the old heating element. For Silicon Carbide Heating Elements and MoSi2 Heating Elements, it is usually necessary to remove the ceramic tube covering the heating element and then use a wrench to remove the screws holding the heating element in place. Once disassembly is complete, remove dust and residue with a broom and vacuum cleaner.
Step 2: Install the new heating element
Fix the new heating element in place, taking care not to damage the ceramic tube, and secure the new heating element with screws. When connecting the wires of the new heating element, make sure that they are firmly and correctly connected. Use insulating tape and insulating porcelain tubes to protect the wires and the heating element.
Step 3: Test the new heating element
After the replacement is complete, you need to test the new heating element for proper operation. Turn on the power and observe whether the heating temperature is normal. You can also use a multimeter or a thermal imaging camera and other tools to test the current, resistance and heat output of the new heating element and other parameters.
3. Precautions
When replacing the heating element, be sure to pay attention to safety. Make sure the power to the equipment is turned off and use insulated tools and materials to do the job.
Replacing heating elements requires attention to detail. When removing and installing heating elements, be careful not to damage other equipment components and heating elements.
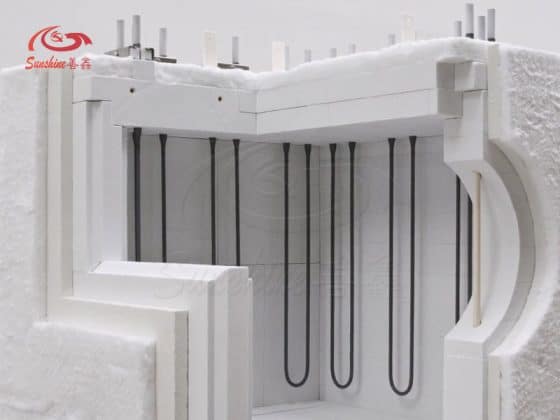
To replace the heating element, it is best to use the specifications required by the manufacturer, be careful when installing it, and have it tested before turning on the furnace after installation.
